Pages

Thursday 30 November 2017

Blooming lovely.. Gift Card

Hello everyone.. How did we get to the last day of November so soon??

I hope you are all keeping well?? It's a beautiful day here in Birmingham, 
bright with a crispness both in the air and on the ground but boy is it chilly.. Brrr!!

I'm sharing a Gift Card today over HERE on the That's Crafty Blog.

Here is a sneak peek with the full How to Do's over HERE..


Hope you can find the time to visit as I know we are all
so busy at the moment..

Until next time Stay Safe & warm.

Crafty Hugs
Tracey xx

Tuesday 28 November 2017

November Tag..

I'm sharing another Tag today using those same prompts given by 
Chris from the mini marvels challenge last year.
Can't believe this is tag number 11, one more till the full 12 completed.

Apologies for the poor photos I will blame it on the lighting..!!

Painting a DaliArt large Tag in white Gesso, I first coated in red paint then 
pearl white scratching into the surface whilst wet with the end of a paint brush.
Modelling paste is pushed through a Dina Wakley stencil in various areas 
of the tag and strips a torn poem page glued on.


Antique Gold translucent paint is wiped all over the tag with Green Shimmer 
paint encouraged to drip from the bottom to top of the tag.
Using a dots Paperbabe Stencil I blended versafine Onyx Black onto the tag.


A coating of clear Gesso seals it ready for stamping.
Using Clarity Journaling stamps with black archival I used a selection to mark make.


I unused a large IndigoBlu Poppy Head previously stamped and 
coloured in pencil as my focal image, with the flower stem added to ground the flower. 


The word November was stamped onto Tissue paper and glued on using matt medium.


With some dots and doodles added to highlight some of the detail.

My November Tag #11 is complete.


I look forward to bringing my #12th and final Tag of 2017
to you all very soon..

Hugs and warm wishes 
Tracey xx

Friday 24 November 2017

Green with Envy* Mini Bauble Christmas Card

Good day creative friends, it's time for another challenge over at 
That's Crafty and this Fortnight's Theme is... *Green with Envy*

I had to think hard about this theme as the word Envy can not always give a positive vibe.
Here is my take on the Theme using some fabulous That's Crafty Products.

Using five different MDF Bauble Shapes I painted the Christmas Tree in Green.


The other four were painted and decorated in multi surface Metallics
with the Christmas Tree given detail and adorned with gemstones.


Attaching jump rings to the baubles they were then threaded onto string.


Onto a Gelli Print background I machine stitched the string in between the Baubles


allowing room for the Baubles to move freely.


With the background stitched around the edge it was glued onto a DL sized card.

Completing my Green with Envy Mini Baubles Card.


I'd like to think that those four metallic Baubles are not envious of the Trees
embellishments but I know if I was that little Tree I'd be Sparkling bright!!

Thank you for sharing your time again..
I do hope you can find time to pop on over HERE and check out the That's Crafty 
Design Teams Creations and also join in with the *Green with Envy* challenge,
There's a £20 voucher to spend in the That's Crafty Store for the winning entry.
*Please read the rules to avoid disappointment*

Wishing you a fabulous weekend
Take Care & Stay Safe

Creative Hugs
Tracey xx

Crafty Supplies:
That's Crafty: Wreath and Baubles
That's Crafty Multi Surface Paints: 
Gelli Print, String, DL Card from my Stash

Thursday 23 November 2017

Give Thanks Thursday..

Happy Thursday and Thanksgiving.

It's my turn to share some creativity over on the That's Crafty Blog today
Here's a sneaky peek especially dedicated to those celebrating across the pond.

Please pop on over HERE to see the full picture and How to Do's


Whatever your day I Wish you all a day full of health, family and friends..

*Happy Thanksgiving*

Warm Hugs
Tracey xx

Thursday 16 November 2017

A Trio of CAS cards

Happy Thursday everyone,

I'm here again sharing a sneaky peek of some That's Crafty Creativity
 using some of the newest Affirmations from Lynne Moncreiff;

You'll find the full Picture and How to do's over HERE..
on the That's Blogging Crafty! site..


I do hope you can find time to drop on by.
Wishing you all a wonderful week with lots of creativity.

Crafty Hugs
Tracey xx

Tuesday 14 November 2017

Don't be afraid to Sparkle*

Hello creative friends,

I'm sharing a postcard sized creation today that i've put together whilst watching 
paint dry *literally* I've been working on so many different projects recently, to be able to just sit down and create this from start to finish was a breath of fresh air. 

Using some postcard sized watercolour card that i'd previously edged with stitching
I used my Paperbabe face templates to draw the outline of the face, marked out where the facial features would go and then scribbled randomly with Caran D'ache neocolor water soluble pastels.


Activating using a paintbrush and water I stamped those facial features 
using the Paperbabe Mini Stamps with Versafine smokey grey ink.


Using a selection of the hair templates I drew the hair outline applying
 neocolors where I wanted light and shade to be.


With the facial features coloured, blended and activated with water I wasn't convinced about the hairline shape I had created, this may have been due to the smaller area I was working on which seemed to kick the perspective out..


So using a fine wet paintbrush I dragged out the colours, creating a fringe/bangs and filling in the gaps by adding more colour dragging out again with a wet brush to create wisps of hair. Outlined with a fine liner the facial features really do come alive.

The Paperbabe sentiment fitted perfectly stamped in the open space.


Mounted onto black card I added dabs of distress glitter glue and a 
sprinkle of gemstones and sequins to add to her sparkle.

My Don't be afraid Postcard is complete.


I felt quite relaxed after creating this and have a handful of #WIP
similar to this just waiting for some more downtime.

Thank you for sharing your time
Until next time

Creative Hugs 
Tracey xx

I'd like to enter this into the *Paperbabe Stamps Challenge ~ #60 Anything Goes*

Sunday 12 November 2017

Crazy Flower Fabric Bookmark #1

Happy Sunday everyone, I hope you have had a peaceful one.

After a weekend with the family I managed to steal away a few hours to finish off 
a little project I started last week in between Christmas card and gift making
using stamps Newly Designed Rubber Dance Stamps by Melina Dahl.

Here is my Handmade Fabric Bookmark and How to do's..

On to Calico I stamped the Tulip shaped flower with Archival 
ink and used the backing from the newly mounted rubber stamps 
as a mask so I could over lay the flower head design.


When my design was stamped I added colour using Inktense Pencils
activating the ink by running a steam iron over it, spritzing occasionally.


I drew a 2" strip around the design with an erasable pen.


Sandwiching interfacing between another piece of calico I have machine 
sewn around those pen lines three times and cut the strip neatly out.

Pebeo Setacolour gold and white paints have been added to emphasize 
part of the design and Setacolour Glitter paint adds the glitz.


Attaching ribbon crimps to each end of the bookmark along with beads gives the 
balance needed to keep the bookmark in place and adds those final embellishments.

 My Handmade Bookmark is complete.


Thank you to Melina, these stamps are wonderful.

Looking forward to playing around with the rest of the set and 
Crazy Flowers #2 very soon.

Enjoy the rest of your weekend.

Warm Hugs 
Tracey xx

I'm entering this into the Rubber Dance Forever Challenge
a forever place to showcase your makes using Rubber Dance Stamps.


Crafty Supplies:

Friday 10 November 2017

Stencilled Wreath with matching Baubles..

Good Morning/Afternoon/Evening Creative friends.
It's time for another That's Crafty Challenge over HERE
with this Fortnights Theme *Stencil it..!*
..and there's a prize for one random winner.


This project I made in August with the release of some super 
MDF Christmas Wreaths, Baubles and Stencils from That's Crafty.

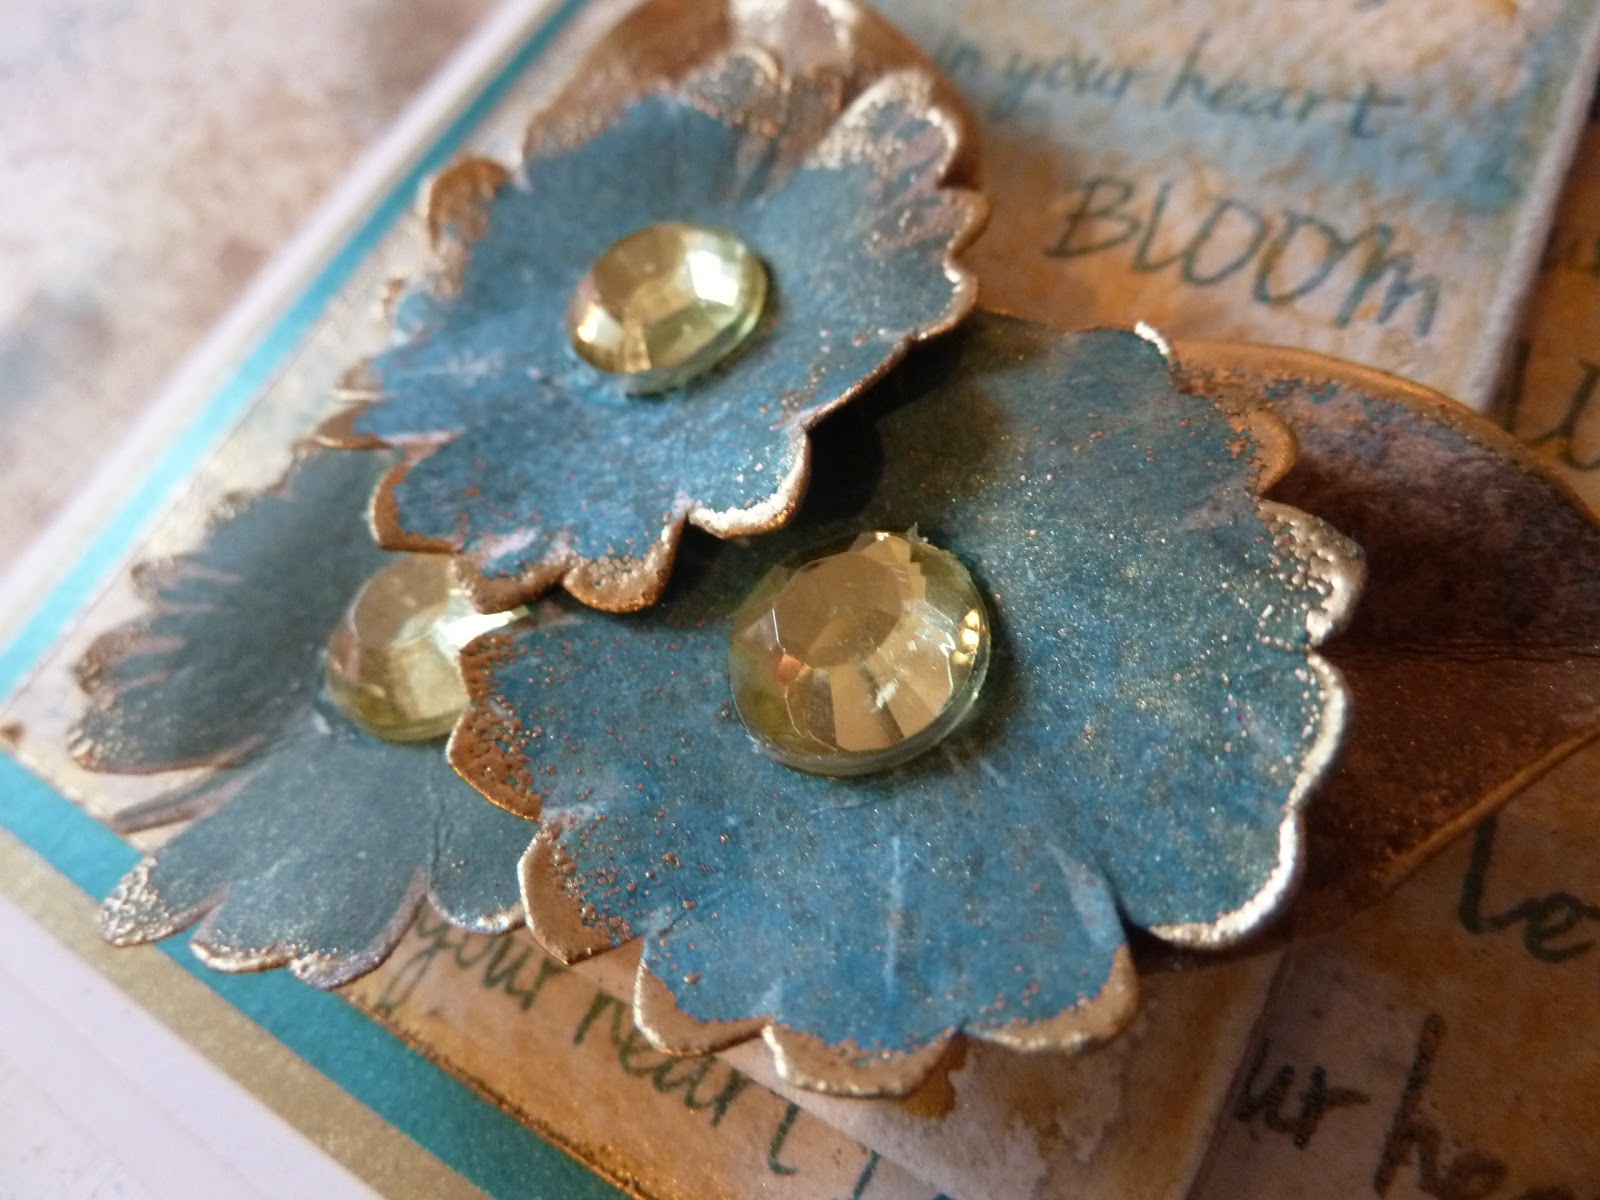
Here is my *Stencil it .. creation using those products:

Using the Christmas Bauble Stencil I pushed 3D Modelling gel 
through one of the designs onto five different shaped baubles.

When dry I used a combination of Copper and Silver Multi Surface Metallics to 
produce a Rose Gold Colour and painted it all over the stencilled baubles.


Silver multi surface paint was dry brushed on top to highlight the texture.
Wire wrapped around the head of the bauble eyelets were made to hang them onto chain..  


The MDF Large Wreath was covered by pushing modelling paste through the 
Poinsettia Tree Stencil, allowing each section to dry before applying the next. 

This does take time may I add and I was lucky that the weather was a lot warmer 
when I created this so it dried a lot quicker than normal... (Just be patient)


Painted in the same way as the baubles, I cropped holes into the wreath 
so the Baubles could be attached and hung inside from chain.


Attached through the holes with a handmade finding just like a wire earring hook, this 
allowed the baubles to be moved around or taken off completely and hung onto a tree.


With a coordinating ribbon and pearl embellishment 
my Stencilled Christmas Wreath is complete, 

A great way to display those Stencilled Baubles.


Thank you for sharing your time.

I do hope you can share some more with us and take part in the 
*Stencil it* challenge over HERE there's a chance to win £20 to spend in the 
online That's Crafty Store for the chosen winner but remember to
 read the rules before entering to avoid any disappointment.

We look forward to seeing your talents over THERE and please do 
check out those inspirational Design Team makes made especially for you.

Wishing you wonderfully creative days ahead.

Hugs
Tracey xx

Crafty Supplies:

That's Crafty: Baubles Stencil TC7004
That's Crafty: Multi Surface Metallic Paint COPPER ~ SILVER


Thursday 9 November 2017

A time for reflection...

Hello everyone, 
It's Thursday again so it's my turn to share some Crafty Creation 
over on the That's Blogging Crafty site.

As Remembrance day is approaching I'm sharing 
a quick make over HERE in commemoration.

I do hope you get chance to check it out.


Wishing you all a safe and Peaceful week.

Crafty Hugs
Tracey xx

Monday 6 November 2017

Something a little different.. for Christmas

Well i'm on a mission... a Christmas card mission. I've been saying for months don't get yourself all worked up over those cards just make a start! Well, if only I had listened to that little voice in my head. I would have been finished months ago if I had.


Instead I am a wash with crafty stuff, any spare room is a drying area and my two children still at home are asked what they are doing anytime their foot steps can be heard near anything that is in progress, poor wee things.

So today I decided I needed a refresh.., my brain was full of Red, Green and Gold with the occasional Blue & Silver. It wasn't until I saw Tracy Evan's alternative Christmas Colour Cards that I realised just how much this uniform of colour was affecting me.

Here is my take on an alternative Christmas.. using ALL & Create stamps and stencils.

On to an A6 size postcard I first applied gesso and blended Stormy Sky Distress ink through #2 Stencil. Piercing around the card edges I stamped the Birds from Tracy Evans Stamp set #6 these were to be my guideline as I was going to layer them up.
Stamps from Fiona Paltridge #2 have been stamped with some embossed in white.


The stripey bird has been stamped and coloured with distress Oxides and the other two birds stamped onto a piece of vintage photo distress ink off cut and clear embossed.


 Using more distress oxide off cuts I drew three Christmas hats, two just like Santa's and the other a quirky shaped hat onto brightly coloured Oxide paper. Now I was ready to assemble it all.


Cut out and layered the stripey Bird body was embossed with clear embossing powder to make him stand out even more. The process was repeated for the brown birds. Adorned with Hats those Birds look mighty fine in their Christmas attire.


With complementary pom poms. dots of enamel accents and a tied tassel, the sentiment from Tracy's set #6 completes my Alternative to Christmas Card.


It was a real breath of fresh air to just play and make this card although the process has created even more chaos in my crafty area but it was worth it.. and it was about time I had a play with them as they had been untouched for far too long.

Thank you for your time and company.
Wishing you all a wonderful week
until next time.

Creative Hugs Tracey xx

Crafty Supplies:

are all available in the That's Crafty Store.

Sunday 5 November 2017

Happy Sunday with PaperArtsy..

*Happy Sunday*

Phew, what a week.. lets push it all behind and share some flowers
they always make things look a lot more beautiful.

One of my Favourite PaperArtsy sets of 2017
Designed by #Kim Dellow
Eclectica³ Kim Dellow 06


Coloured with Caran d'ache Pablo Pencils,
cut out and raised with foam pads then layered onto an infusions 
background that I'd stamped with the leaves stamp included in this set.


Using Jo Firths JOFY Stamp set 54
these have been stamped directly onto the Distress oxide 
background activated with That's Crafty Pale GOLD Sparkler Spray.

Coloured with a mixture of Alcohol markers and Supracolor pencils some of
the flowers have been machine stitched around as well as the edge of the card.


I picked this up recently in the That's Crafty Clearance
Lucky Girl I am.

Beautiful Poppy stamped and embossed onto an infusions background,
cut out and layered on to another piece of infusions background
this time activated with BLUE Sparkler Spray from That's Crafty.


The sentiment is part of the stamp set and warms my heart each time I read it..


**Happy Sunday Everyone, and may your week Blossom**

Creative Hugs Tracey xx

Thursday 2 November 2017

Fairy Garden ATC Shrine

 Hello everyone, it's Thursday again which means it's my turn to
share a sneaky peek of a That's Crafty Creations over on the
That's Blogging Crafty site..

Today I am sharing a DT sample I made for That's Crafty's 6th October Hochanda Show
I do hope you can pop on over HERE to see the full project and How to do's


Hope to see you over THERE
I look forward to sharing more of mine with you all
same time next Thursday.

Take Care and Stay Safe

Crafty Hugs
Tracey xx